

Shoot Process and Organization Part 1: Organizational Tools
Disclaimer: Some of the links below are affiliate links which means that if you click through and purchase, Weekend Creative will earn a percentage of the purchase at no additional cost to you. Thank you for supporting us so we can continue creating educational content!
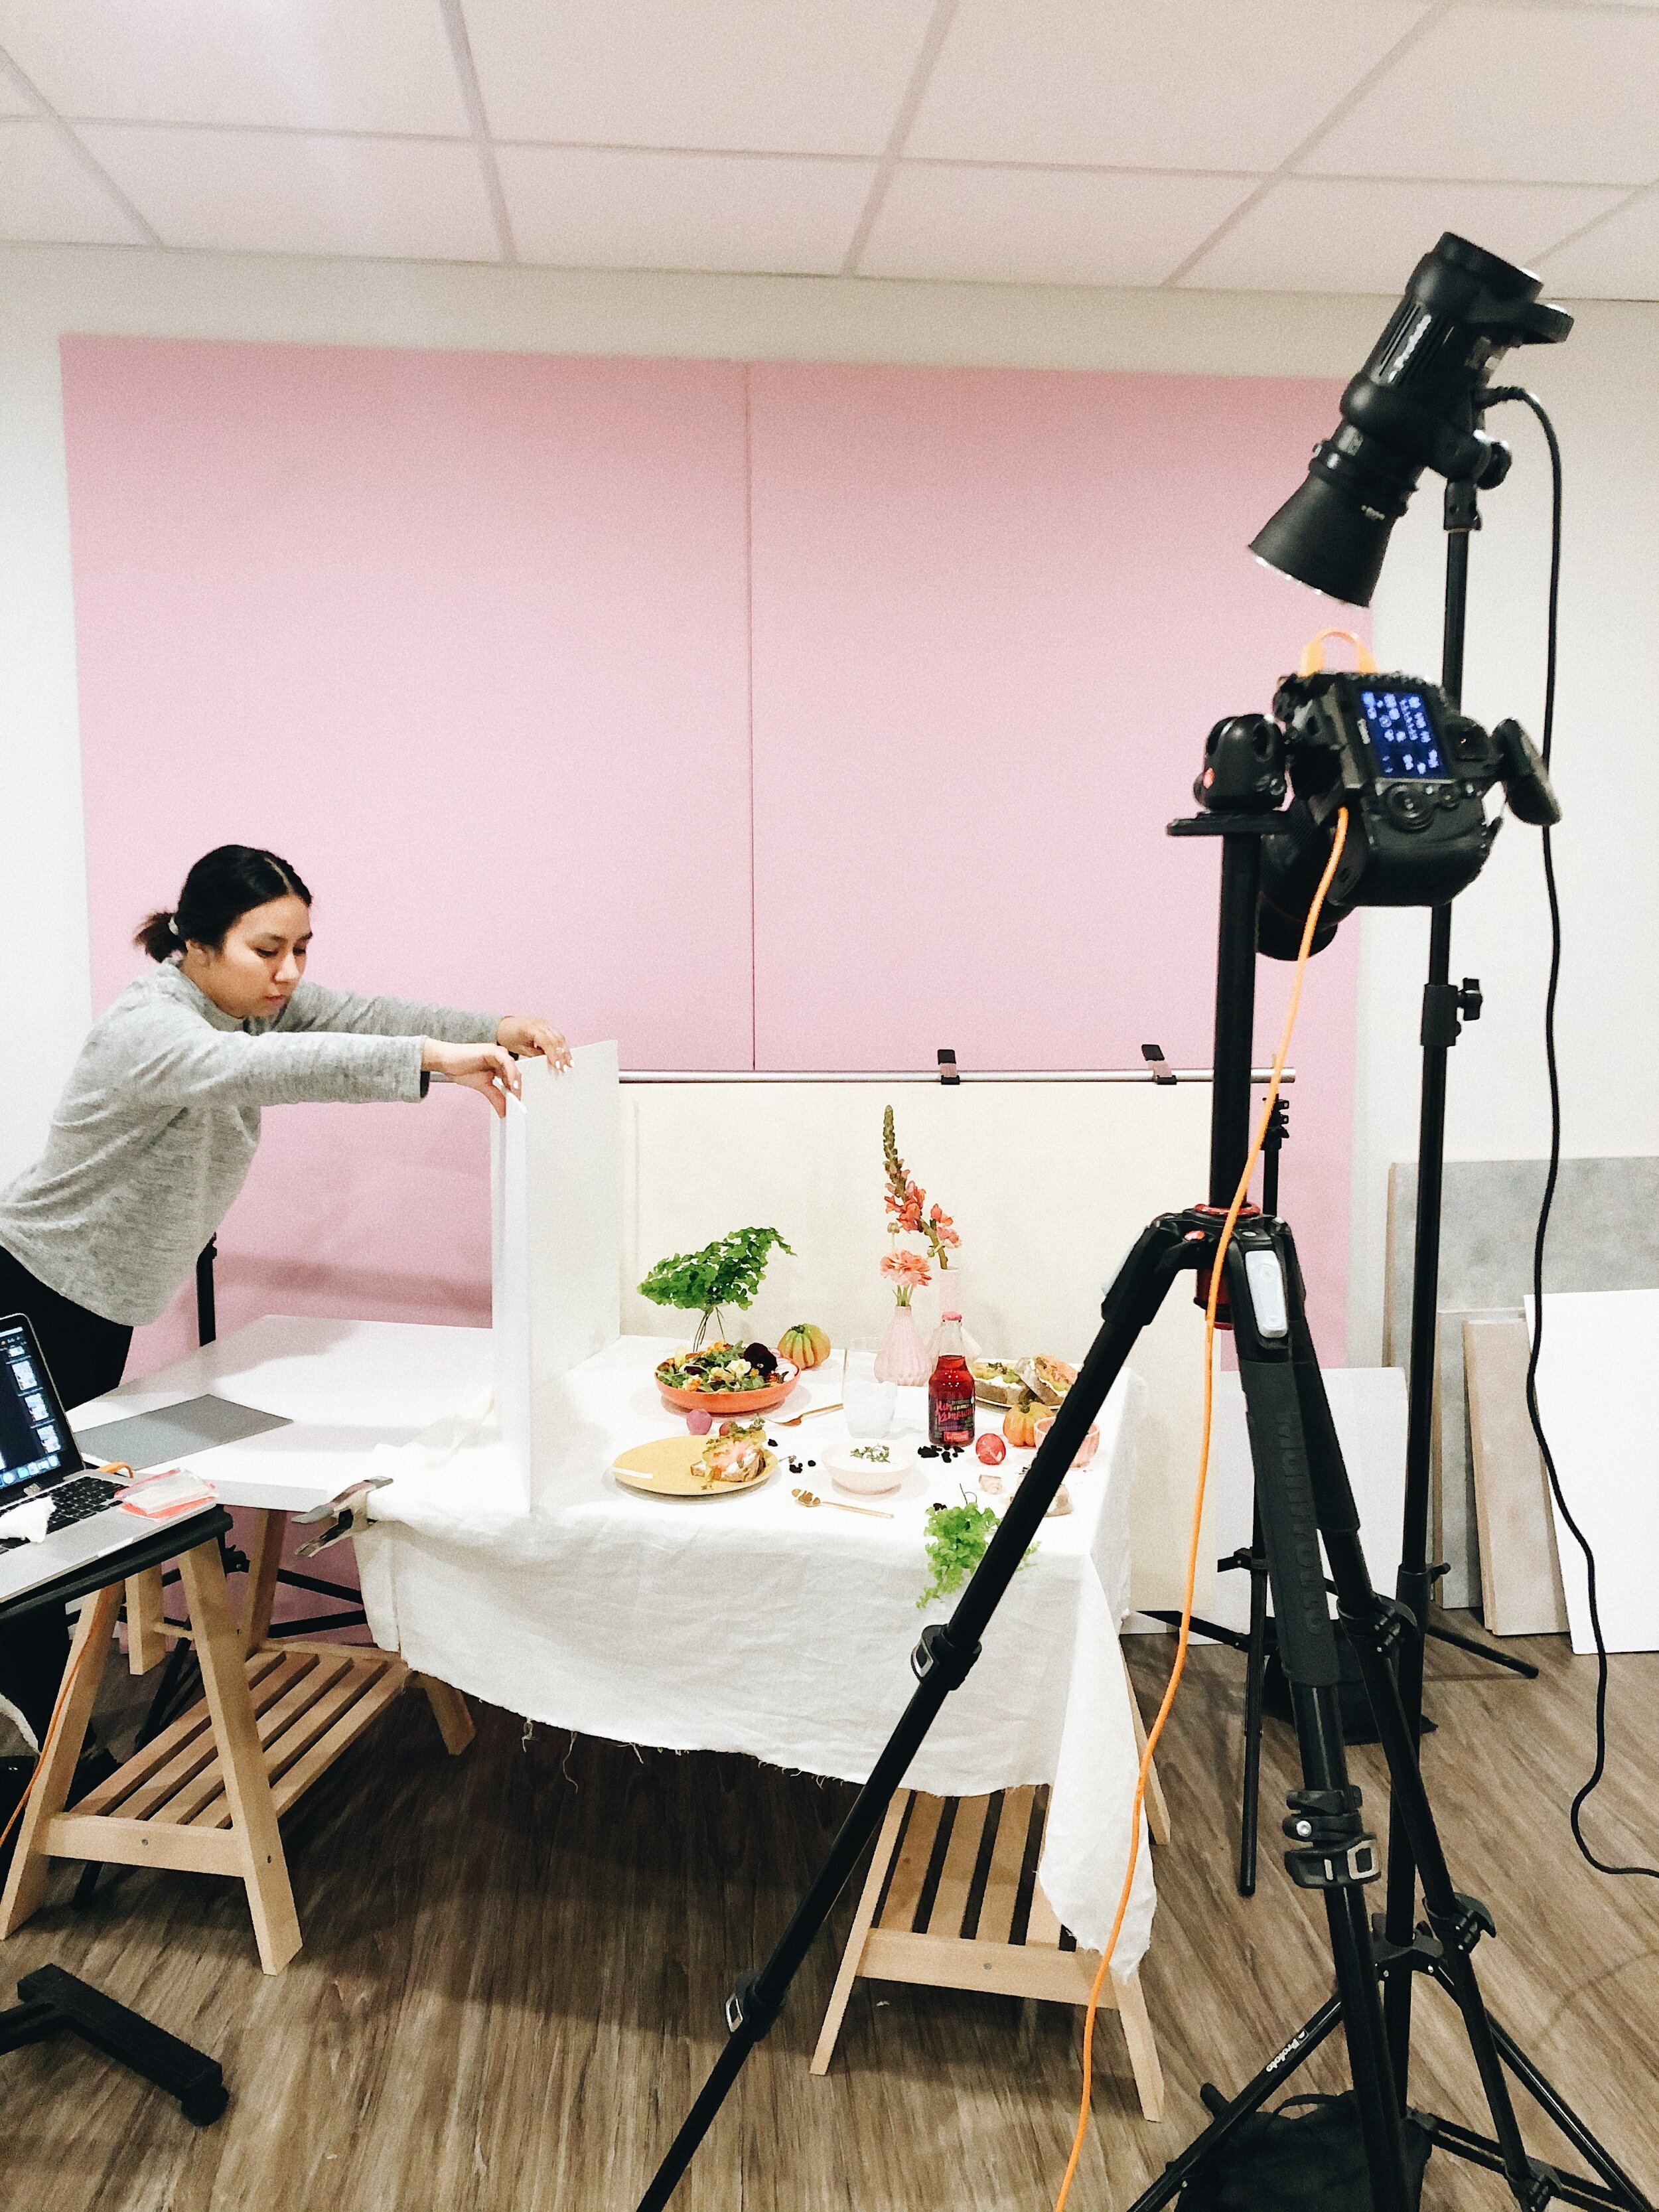
We’ve been doing Q&A sessions over on Instagram about every month or so. Back in March, we got a lot of responses asking about our process, how we stay organized, and how we juggle multiple clients at once and I promised that I would write a post about it. It’s taken me a while to get this together, but it’s finally ready and I hope it’s really helpful! I decided to break this out into a series of three posts, starting with tools we use to organize, then talking about productivity and finally our overall process for planning a shoot. I’ll also be putting together posts detailing our proposals and shoot plans/shot lists so stay tuned for those in the near future!
First, let’s talk a little bit about some overall thoughts on working with multiple clients at once.
don’t overbook yourself
My first tip for working with multiple clients is to not overbook yourself. This was a mistake that we made in the beginning that we’ve really worked on this year. It’s easy when you’re first starting out to feel like you need to take on all the work you can get. I definitely functioned out of a scarcity mindset at first, feeling like if we turned down clients who didn’t have enough budget or who just weren’t the right fit that we might never book another client again. I can see now how while this did give us a lot of valuable experience, in the long run that mindset can actually hinder your growth.
We now book less clients but actually make significantly more by sticking to our minimums (which we continually raise) and being more selective about the projects we take on. Yes, it’s taken us over two years of hard work to get here, but I really believe that this can apply to anyone. While it’s hard to turn down work, I know that by saying no, we are leaving ourselves open for the clients that we really want.
We’ve written a lot about this, so you can read how we developed our pricing here, how to raise your prices here, when to turn down work here, and if you need help figuring out how to price your work, we would love to help you out over a coaching call which you can book here. When you only take on work that you love and that pays well, you’ll have more time and energy to dedicate to each project. I recommend looking over your financial goals and thinking realistically about how much work you can take on per month. Use that to guide what your minimum should be for each shoot, adding additional cost for the value that your work brings to the client.
you have more control than you think
The second tip I have is to remember that you have more control than you think. I wrote about this in this post about balance in the entrepreneurial life, and I think it really applies to making sure that you don’t overbook yourself. We can feel like we need to bend over backwards to take on all the work we can and create within what are often unrealistic timelines set by clients. This leads to overworking, a lower quality of work, stress, and burnout.
Ask clients about their deadlines up front and then be really honest about if you can realistically meet them. While of course you want to be as helpful and accommodating as possible, is it worth sacrificing your sleep/sanity and the quality of other client projects you already had booked by squeezing in a client who really should have reached out sooner? Most people have no idea how much time and work goes into producing and photographing let alone editing, and it’s ok to let your know what a realistic timeline looks like.
Often if I say to a potential client that we are booked out until x date and we would need x amount of time to properly execute their vision they are ok with that even if it’s a little outside their ideal timeline. If there is a client that you really want to work with but you’ll have to rush production or post production make sure to charge rush fees to make that stress worth it. Remember that it’s not a bad thing if you’re booked far out, it actually makes you look really good and will teach your clients to reach out further in advance which is great for your business.
Remember that you have this business for YOU, because you love what you do. Always protect that and don’t let scarcity or the need to fill your schedule take away from that (preaching to myself here).
Ok, now that you have those guiding principles in mind, I want to share with you all my favorite tools for staying organized (and sane) while planning a shoot.

asana
This is where I track all clients who reach out to us or who we pitch to (read more about that here). Once we have booked a client, I move them to our “Current Clients” section where I can plug in all due dates for that shoot and make a to-do list of all production tasks. Once I have a shot list and know what I need for the specific shoot, I will make a task with each store name and then enter all the items that I need to purchase so I can easily access it when I’m out shopping. The key here is that an organizational system will only be as organized as you are, so making sure to stay on top of adding tasks when they come up and checking them off when finished is important. It’s also good to be really specific about tasks so nothing gets missed. If a task has multiple parts, break it into subtasks.
google calendar
This is essential for making sure that important calls and due dates happen. Arabela and I share a work calendar that is connected to both of our personal calendars so we’re always on the same page. I color-code this calendar and make sure to always add reminders (otherwise nothing will happen haha). We put in all calls, shoot dates, image due dates, events, etc. We also block off when one of us is out of town so we make sure to not schedule anything important during that time. We can zoom out and get a bird’s eye view of our next couple months so we can easily tell potential clients when we would be available to shoot.
a good old-fashioned notebook
You can take notes however you want, but personally I like a pen and paper. The important thing is to have ONE place that you put all client notes whether it’s the notes app in your computer or a pad of paper. I used to use different notebooks or whatever I had laying around and then I was always searching for the one that I wrote notes about a specific client in. Take notes during every single call and meeting, even if you think you will remember later. Chances are you won’t and you’ll be glad that you have something to refer to.
See some of our favorite office tools and paper products in our Amazon Shop (affiliate link)
paper planner
Again, I like old fashioned pen and paper for my planner. It might seem a little redundant to have both asana and a planner, but I find that when I look at asana all day I get distracted so I only to go in there once a day to write down my tasks for the day and then just focus on what needs to be done that day. I’ve been using this planner by Wit and Delight and I really like it. It isn’t dated, and it allows for you to write out the 4 major tasks you need to focus on for the week.
Elsie Larson of A Beautiful Mess recommends making a to-do list that fits on a post-it because that’s a realistic amount that can be accomplished in a day. The sections in this planner are similar in size to a post-it which helps keep my list manageable. I start out the week by going through Asana and writing in all tasks that are essential plus the tasks that I do weekly like our budget. I always block off shoot days since realistically I’m not getting anything else done that day and then I can plan around those days.
Once thing I started doing recently is adding calls to my to-do list since they take up time and I’m less likely to get a lot done on a day when I have to prep for and take several calls. It’s motivating for me to see that I still got a lot done on those days instead of feeling like it was wasted since I didn’t actually check off items (it’s alllll psychological). I also leave some space at the end of the week so that I can add tasks that didn’t get done earlier without feeling overwhelmed.
Once my tasks are written out, I’ll go though with a highlighter and color code the tasks which helps me to discern what is most important. I use a different color for each of these section:
Potential Client Work (proposals, calls, follow ups)
Shoot/Client Work (shoot plans, production, etc).
Admin (Quickbooks, invoices, paying bills, etc).
Goals (social media, blog, our podcast, etc)
This way I can quickly discern what needs to happen first each day instead of focusing on what is fun or not as important. If a task doesn’t have a color then it’s something that can wait until the end of the day if there’s time.
Before adding a new task to my list, I try to figure out if it’s essential that it’s done that week or if it can be done the week after. I’ll keep a running list of tasks that I can pull from when planning the next week to get them out of my head until I actually need to focus on them.

client folders
Raise your hand if you’re terrible at saving receipts and you can never find what you actually need when you need it? Just me? Ok well if you’re scatterbrained like me let me tell you what you need to do. Get some plastic envelopes like this and make sure you have one for each client. Put all current shoot documents inside - a printed version of the contract for easy reference, brain maps, inspiration, brand guidelines, mood boards, shoot plan, shot list and receipts from everything you purchase. If you purchase items for multiple shoots at once then make copies and write the amount due from each client before putting it in the folder. This will be a LIFESAVER when it comes time to invoice, just pull out the receipts and add them easily.
quickbooks
One of the most important parts of running your business is making sure that you get paid in order for your business to continue to run. What you don’t want to have to do is worry about keeping track of all of the invoices and when they’re due. I’ve made a habit of doing all returns the day after the shoot and then going through all receipts to make sure that I add all extra expenses accrued during the shoot and sending the invoice right away. It’s extremely helpful for me to be able to open our account and see all invoices and when they’re due so I can track our money and know when it will be coming in. I can also easily see when invoices are overdue and need to be resent with a fee.
templates
This isn’t a specific tool, but I highly recommend developing your own templates that you can duplicate easily when you have a new shoot. We use google docs for our contracts (download and send to the client via HelloSign), google sheets for our shot lists, and Illustrator for our mood boards, shoot plans, and proposals. All I have to do is duplicate and make little tweaks for the specific shoot which is a huge time saver.
I hope this list of tools is helpful! Let me know if you have any tools that you love, and stay tuned for parts 2 and 3 coming soon.
Is it the weekend yet?
Elle