Our Gear: Lighting + Studio Equipment
Disclaimer: Some of the links below are affiliate links which means that if you click through and purchase, Weekend Creative will earn a percentage of the purchase at no additional cost to you. Thank you for supporting us so we can continue creating educational content!
Happy Juneteenth, everyone! Hope you are all taking the time to learn about this special holiday while making sure that we celebrate our black communities by supporting them, amplifying their voices, and purchasing from Black-owned businesses. If you missed it, we put together a list of our favorite Black creatives that you should definitely be following and supporting which you can check that out here.
Well, we’re back for the second installment of a three part blog series (click here for part one and here for part three) relating to all of our gear and equipment. Hopefully you follow us on Instagram and if you do, you would know that we’ve been really into doing Q&As on our stories about once a month. Without fail, there are always several people who ask what gear, lighting, and studio equipment we use. Hence, these blog posts were born. Before we dive in, I would like to let you all know that our Amazon shop is now live! Many, if not all, of the items in this post are included in our store so if you’re curious about our equipment, we’ve made it super easy for you to browse and purchase at your convenience. Alright, let’s get to it.
our fancy lights
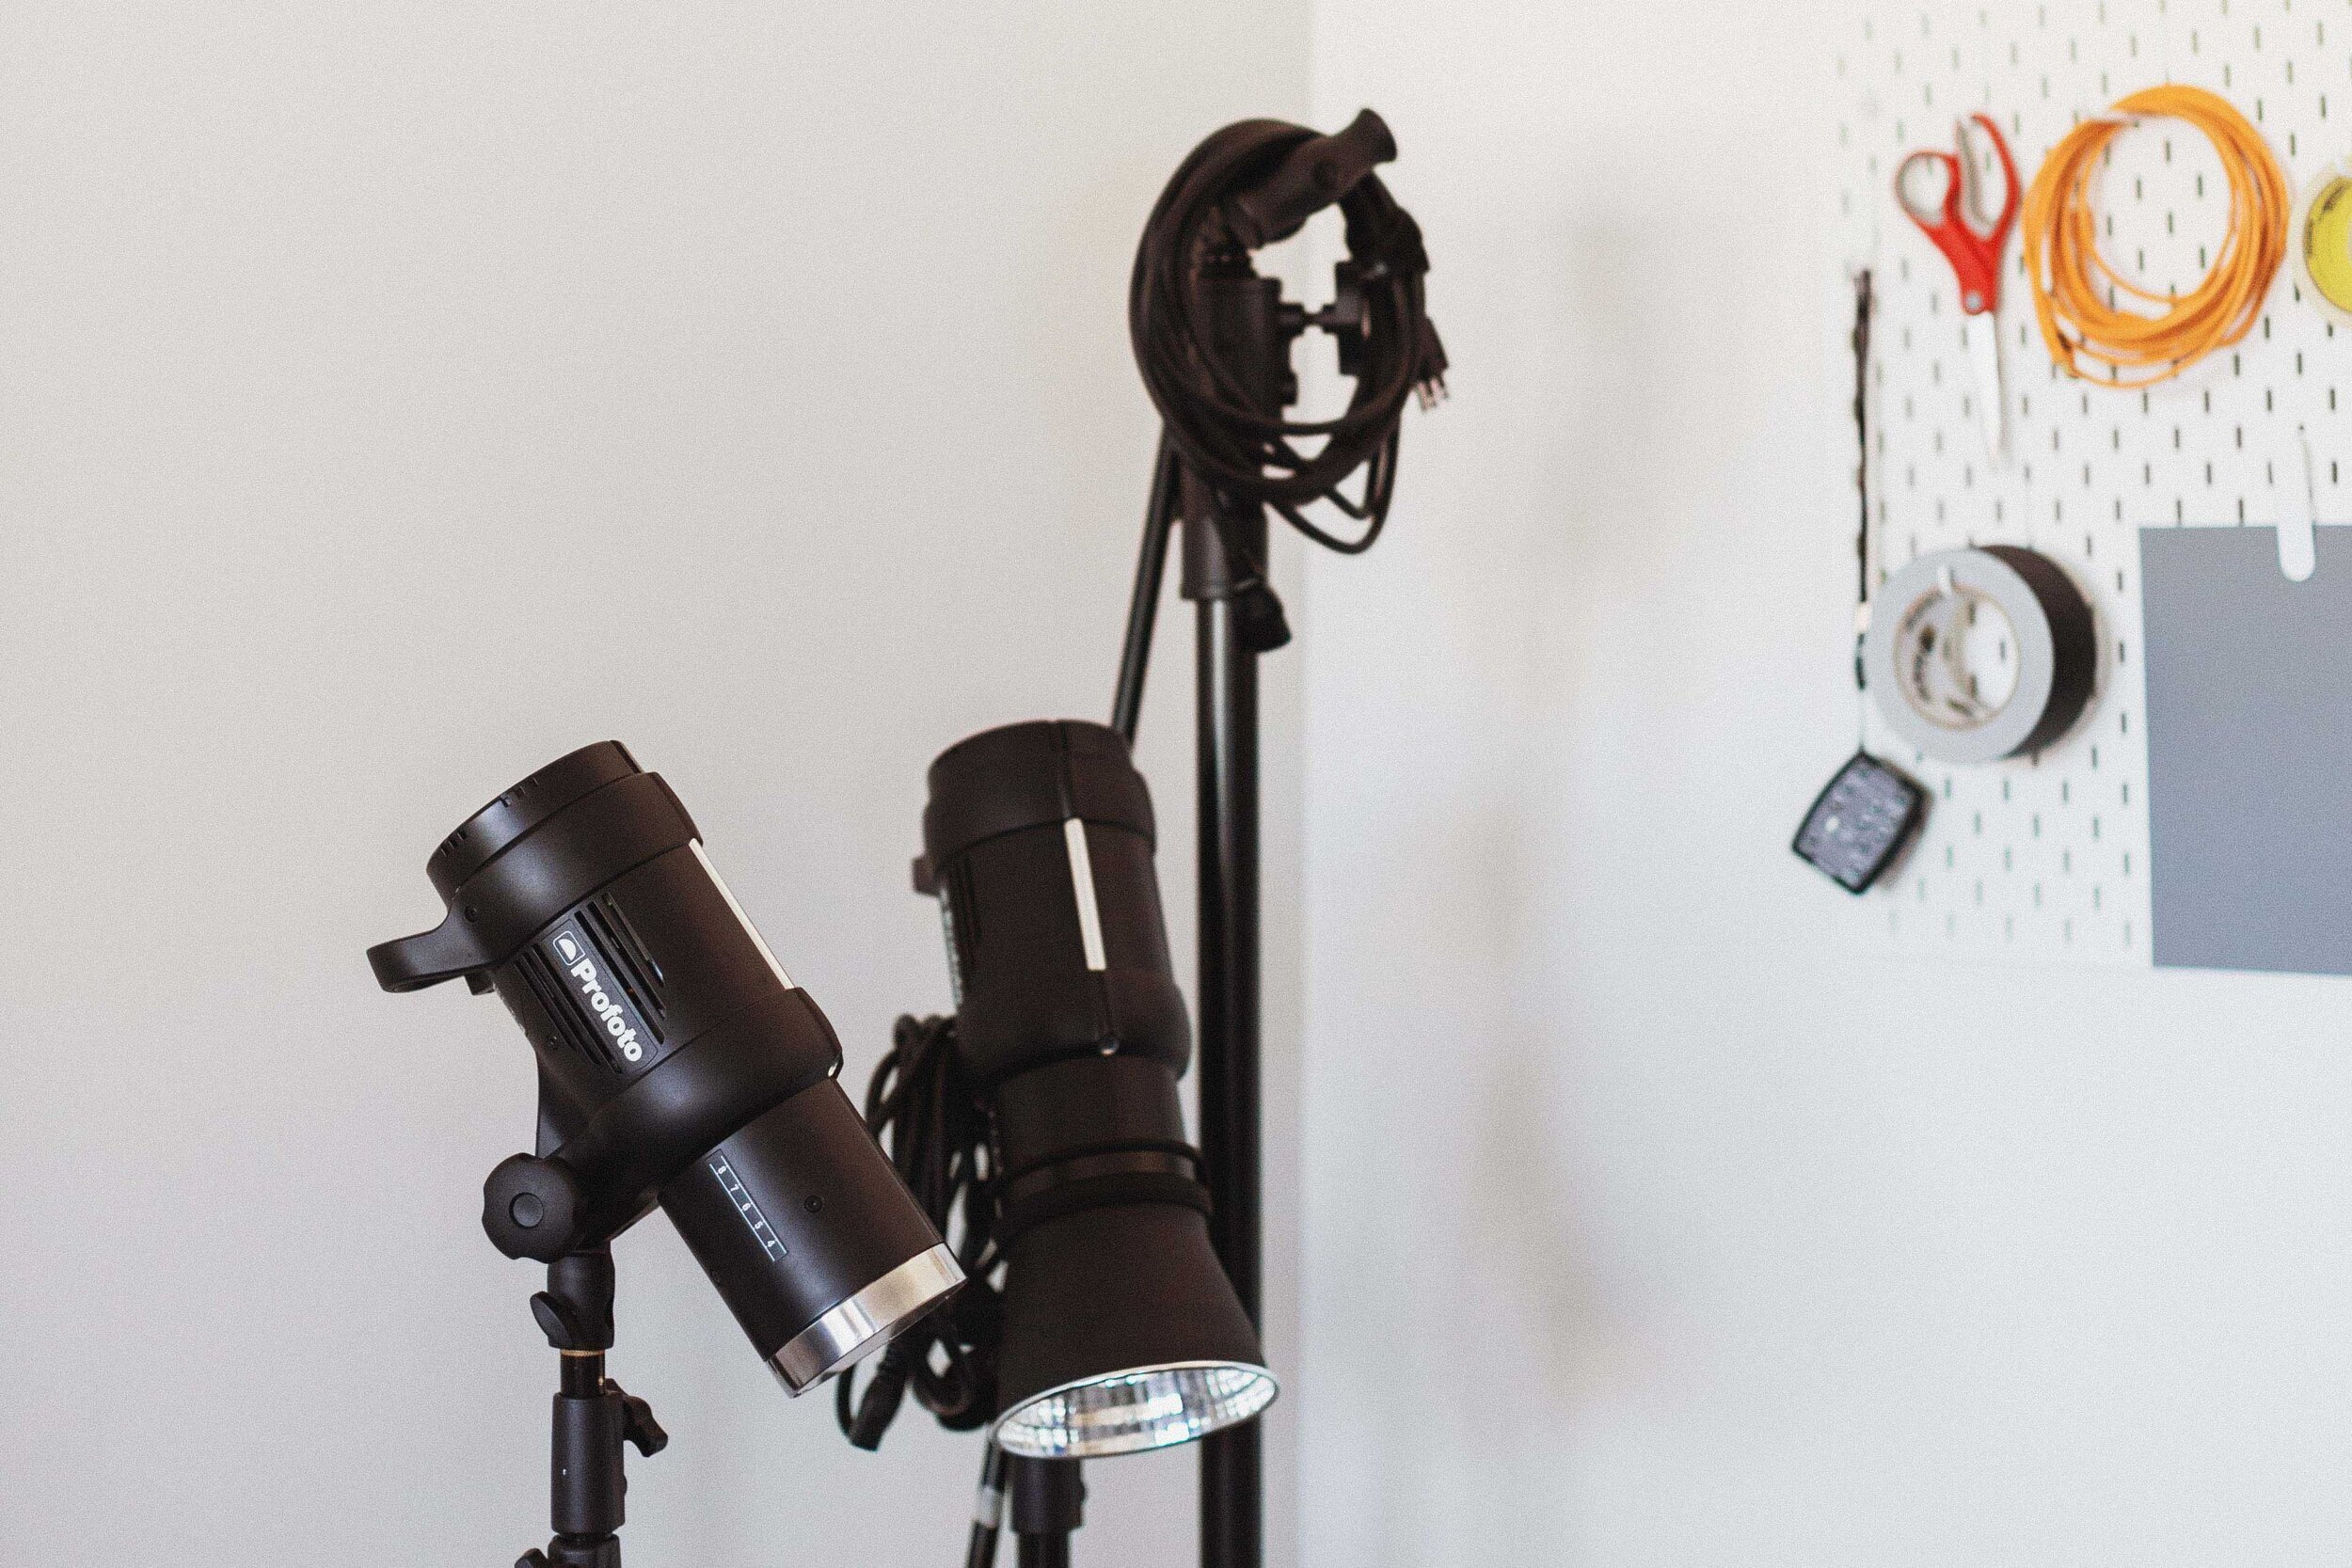
After we signed the lease on our studio, we knew exactly what brand of lights we wanted. We fell in love with Profoto over time as we kept renting one of their monolight kits from Borrow Lenses. While dropping over 2k on a pair of strobes wasn’t ideal, we knew that it was an investment and truthfully, there’s no other brand of lights that I could see us working with anyway. We currently own the Profoto 500W/s D1 Air Studio Monolight Kit. We love these strobes so much we actually have a blog post on why we chose Profoto which you can read here.
One thing to note about purchasing Profoto is that once you purchase one piece of equipment, you sort of have to just buy into their whole family. So just be prepared to spend a lot of money upfront and most likely over time if you really want to build out your lighting equipment set up. As you know, we love to keep our lighting pretty simple and most of the time we just use one strobe so we’ve been able to get away with our 2 strobe monolight kit for now. Eventually, we’d like to purchase another set of strobes or higher powered lights to help us out with larger productions that include models. When we purchased our strobe kit, we also invested in a couple of ocf zoom reflectors, 2x3 softboxes, and speedrings. The ocf zoom reflector is great for concentrating your light and making sure that it doesn’t spill outside of your scene. While we rarely use our softboxes, every now and then we like to use them for a softer more diffused lighting set up and we use our speedrings to attach them to our strobes. One other Profoto equipment we purchased was the ocf color gel starter kit for some fun colorful effects on our images.
our super cool studio equipment
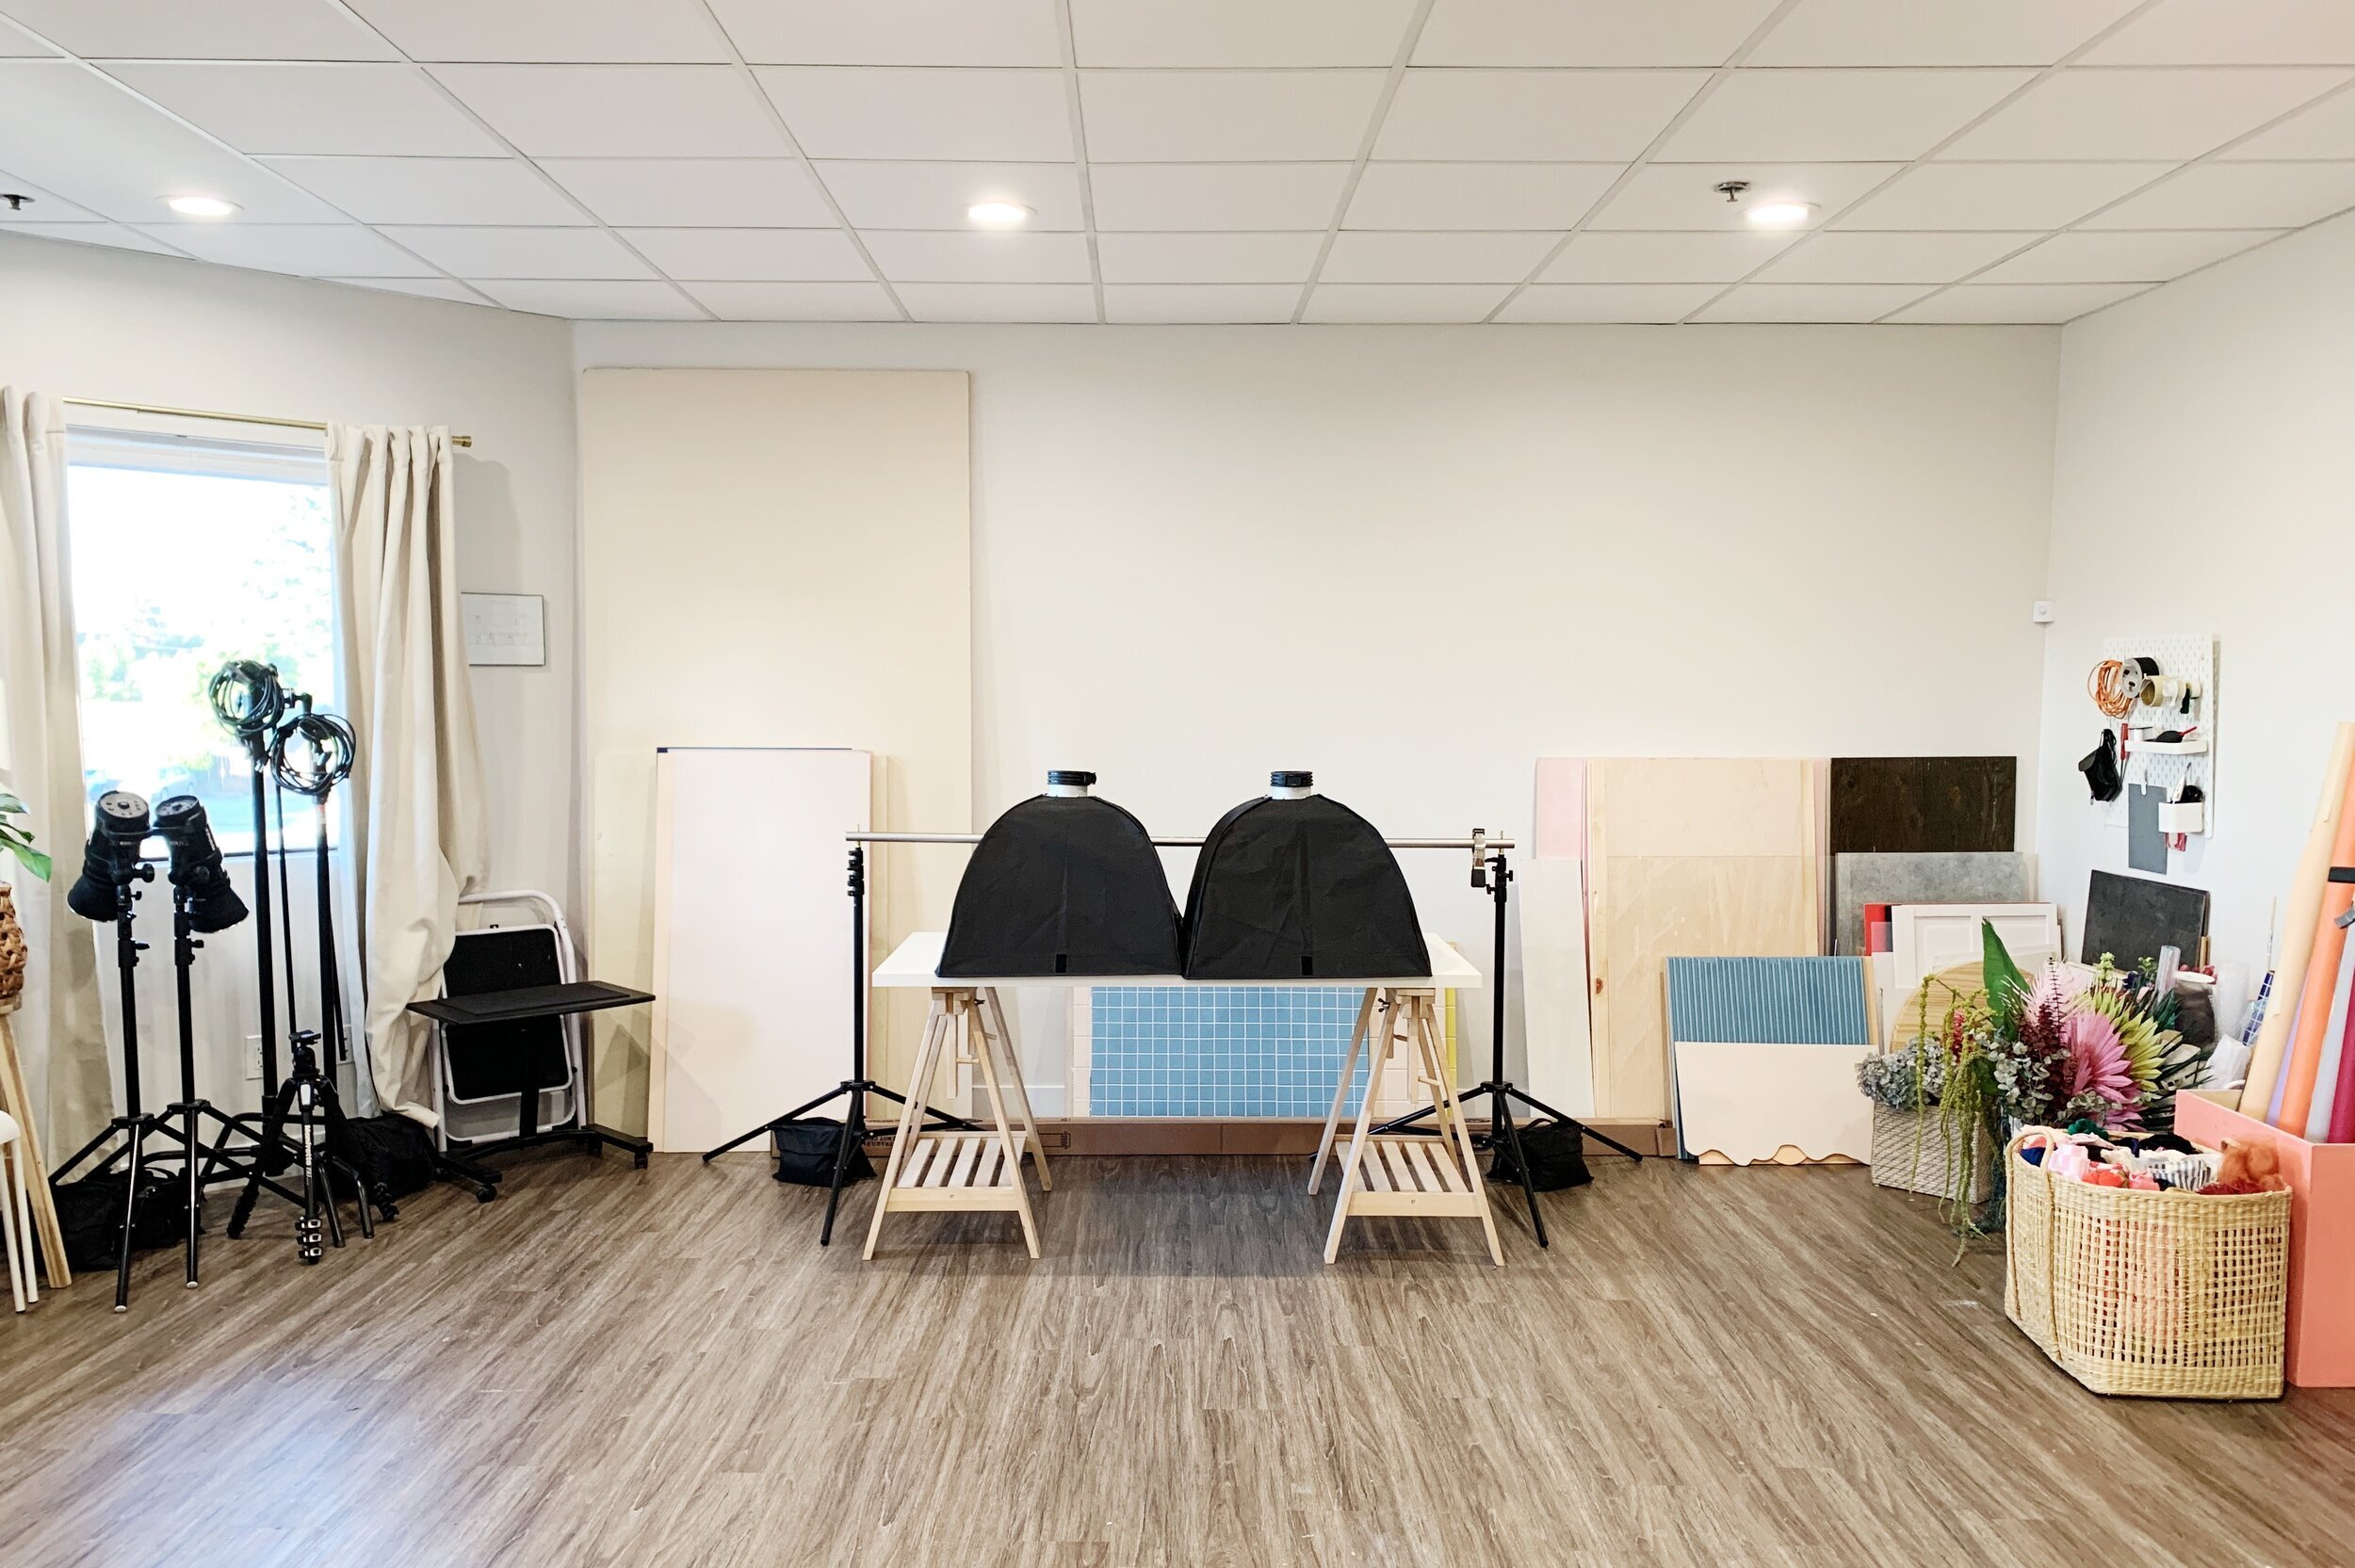
Now that we’ve covered all of our lighting, I want to share with you our studio equipment. When we first got started, we used a basic 4x6 folding table but eventually wanted to upgrade to something more stable so we purchased the Ikea Linnmon table with two wood trestles. The trestles with the shelves are actually super handy because we’re always misplacing tools and small props in random places so it’s a nice little space to use during shoots. We use the Photek Background Support Stand to hold our seamless and/or to be able to hang fabrics or prop up painted particle boards. All of our 53” seamless background paper is by Savage Universal (industry standard) and we have over 20 colors at our studio currently. We recently purchased the “studio gray” color in the largest size we’ve ever had to buy (107”) for a recent client project.
c-stand and fishing line in action
We use some pretty basic c-stands to help us clamp white cards or suspend props/products in the air. We also have several sand bags that help us weigh down both our c-stands and lights. Our tripod is the Manfrotto MT190CXPRO4 Tripod with the Manfrotto 484RC2 Tripod Head. Some additional Manfrotto accessories that we purchased were the Manfrotto 131DB Side Arm to be able to shoot overhead. Once we realized that we could convert one of our c-stands into a tripod, we bought the Manfrotto 234RC Monopod Swivel Head and the Manfrotto 014- 14 Rapid Adapter to be able to attach our camera and therefore have a lot more space to style our scene without the stand getting in our way.
Shooting tethered is a must for us so we have both the tether cable and tether block from Tether tools. The tether cable helps us connect our camera to our laptop and the tether block allows us to safely secure our cable so that we don’t damage our camera’s data port. Since we shoot tethered, we use this rolling laptop desk cart to place our laptop on to keep close to our set so that Elle can get a live view of our scene. This particular desk cart didn’t come with anything on it that would prevent my laptop from sliding around so we purchased a sheet of adhesive neoprene to cover the entire cart.
Some other studio equipment that we likely have around in our studio are some basic apple boxes, spring and metal clamps of various sizes, and a step ladder because if you’re short like me, you’ll likely need it haha.
extra handy tools
And now for the fun section. These next few items are all of the fun tools we use during our shoot to help us execute our vision. Some of them might be self-explanatory and others might be like, you use this for what? Haha! We wrote a blog post not too long ago on 3 of our favorite photography tools that we use pretty often which you can read here. Just a few basic items we always have handy are a hammer, screwdriver, utility knife, gaffers tape, painter’s tape, clear tape, double sided tape, extension cords, and a pair of scissors.
Whenever we’re working with florals, we like to use floral tape, floral foam blocks, and a pair of pruning shears. If we’re shooting liquids, we like to use droppers, syringes, and funnels to be able to carefully add liquid to any cup without getting a lot of splashes. Anytime we’re working with food, it’s nice to have a good set of knives to cut evenly and slice with ease.
Oh and if you’ve got the space, a mini fridge is awesome because you can store not only perishable food but fresh florals as well. We purchased this mini vintage fridge for our space but quickly realized how useful it was for storing food props. One random thing we like to use if we’re shooting food that will eventually be composited into a pattern is transparency sheets. They help keep your set clean while allowing you to photograph any food items that might be overly juicy or water-y.
Got some round props or products that won’t stop rolling away? Use some earthquake or mounting putty to help keep them in place. Fishing line is our best friend anytime we want to make a product/prop lean or suspend in the air. If we’re using fabrics in our set, we use a steamer to help get wrinkles out. Another random tool we like to use for creative product water shots is a blow dryer which helps create all the fun waves. If you read our post on 3 of our favorite photography tools, you’ll remember those fun little helping hands (third hands). We’re still obsessed with them as they’re perfect for holding up smaller and lightweight props.
In product photography, it’s super essential to have your set as clean as possible. For this reason, we use gloves at every shoot and have several microfiber cloths on hand to help remove smudges and dust. Lastly, but definitely not least, is our gray card which helps us color correct our images. Phew, if you made it this far, thanks for reading along. We hope you found this useful and if you didn’t have time to read through this entire post, you can always browse our Amazon shop which has all of the items we shared with you. Tell us in the comments if you have any favorite photography tools or equipment that we should know about. Oh, and don’t forget to come back and check out part 3 where we’ll be going over our favorite programs and photo editing tools that we like use. :)
Is it the weekend yet?
Arabela


